Manage and edit existing users.
Adding, replacing or removing existing users and user groups requires SCIM patching. Look here for guidance and examples of how this works within our platform before attempting to edit users.
For user management endpoints that call /{user_id}, the {user_id} path parameter is flexible and supports multiple forms of identification:
| Identifier Type | Source Field | Description |
|---|---|---|
| SCIM ID | id | Firstup-generated SCIM ID (immutable and unique to each user). |
| SCIM userName | userName | The user's login ID; also known as universal_identifier in Firstup Studio. Must be unique. |
| Email address | emails.value | A primary or secondary email associated with the user. Must be valid and exact. |
| External ID | externalId | An optional identifier linked to external systems such as HRIS or IdPs. |
The lookup process follows this order:
iduserNameemailexternalId
This means if a match is found using userName, the system won't continue to check for email or externalId matches.
Get users to manage and make changes to their profiles, such as new job roles, name changes, phone number changes, etc.
Before you start
Return a user record for each user in the program. Implements SCIM 2.0 specification.
Endpoint
Filter the list of users with the SCIM filter expression. The supported operator is 'equals to' eq.. Supported fields are:
userName: internally maps to universal ID. Example:userNameeq "user123", "Joebloggs" - filter returned user list by exact usernames (if known).role: either legacy or advanced roles. Example:roleeq "publisher" - filter returned user list to only return users with the publisher role.
Request Examples
All users and no filters:
`HTTP Method: GET
URL: {{apiBaseUrl}}/scim/v2/Users
Headers:
  Authorization: Bearer {{bearerToken}}
  Accept: application/json
  Content-Type: application/json`
All users and the role filter:
`HTTP Method: GET
URL: {{apiBaseUrl}}/scim/v2/Users?filter=role eq "publisher"
Headers:
  Authorization: Bearer {{bearerToken}}
  Accept: application/json
  Content-Type: application/json`
All users and the userName filter:
`HTTP Method: GET
URL: {{apiBaseUrl}}/scim/v2/Users?filter=userName eq "user1234"
Headers:
  Authorization: Bearer {{bearerToken}}
  Accept: application/json
  Content-Type: application/json`
Passed UserName parameters need to be the exact username.
If you know the user_id of a user, add it as a path parameter.
Endpoint
Example
GET /v2/scim/users/{user_id}
user_id example is 81237405
Request Example
A specified user with one user identifier:
Supported user identifiers (user_id): id, userName, email, externalId
`HTTP Method: GET
URL: {{apiBaseUrl}}/scim/v2/Users/{{user_id}}
Headers:
 Authorization: Bearer {{bearerToken}}
 Accept: application/json
 Content-Type: application/json`
Multiple user names can be sent.
When updating users, we recommend using a patch request. This allows you to edit specific attributes without affecting the entire user profile. PUT requests can cause modified data that may lead to data loss.
- Update User: Make a
PUTrequest to change the entire profile of a user, to update big changes that affect multiple attributes, or to add attributes to existing users. Before making this request, make aGETrequest and copy the exact data into thePUTbody. - Update Single Fields: Use a
PATCHrequest to update/change single attributes to existing users using a replace operation.
Before you start
Adding, replacing or removing existing users and user groups requires SCIM patching. Look here for guidance and examples of how this works within our platform before attempting to edit users.
To update multiple user attributes and big changes to a user, or to add new attributes to a user, make a PUT request.
Utilize PUT endpoints carefully. Modified data models caused by new features or user-defined fields may lead to data loss. Any existing attributes not included in a PUT overwrite as blank.
Endpoint
GETthe user record usingGET /scim/v2/Users/{user_id}to retrieve all current attributes and objects associated with the user.- Copy the body into the PUT body request to ensure you've captured the entire user profile.
- Replace whichever values are required.
- Execute the
PUTrequest.
Any attributes left blank or not passed overwrite any existing attributes.
Example:
Original user record from the GET request:
{
  "userName": "janeDoe123",
  "active": true,
  "name": {
    "givenName": "Jane",
    "familyName": "Doe"
  },
  "displayName": "Jane Doe",
  "nickName": "Jane",
  "roles": "member",
  "emails": [
    {
      "value": "janedoe@email.com",
      "primary": true,
      "type": "work"
    }
  ],
  "addresses": [
    {
      "streetAddress": "123 Mission St",
      "locality": "San Francisco",
      "region": "CA",
      "postalCode": "94105",
      "country": "US",
      "primary": false,
      "formatted": "123 Mission St, San Francisco, CA, 94105",
      "type": "work"
    }
  ],
  "title": "Sales Person",
  "photos": [
    {
      "type": "photo",
      "value": "http://an.image/url"
    }
  ],
  "preferredLanguage": "en-US",
  "userType": "Associate",
  "locale": "en-US",
  "timezone": "US/Chicago",
  "urn:SocialChorus:1.0:User": {
    "businessUnit": "Accounts Receivable",
    "gender": "Female",
    "managerName": "Jimmy Dean",
    "workLocation": "Kabukicho",
    "birthDate": "2000-01-01T00:00:00.000Z",
    "hireDate": "2000-01-01T00:00:00.000Z",
    "promotionDate": "2000-01-01T00:00:00.000Z",
    "requisitionApprovalDate": "2000-01-01T00:00:00.000Z",
    "lastAccessedAt": "2000-01-01T00:00:00.000Z",
  "urn:ietf:params:scim:schemas:extension:enterprise:2.0:User": {
    "employeeNumber": "abc123",
    "organization": "Firstup",
    "department": "Sales",
    "costCenter": "NY",
    "division": "THCI"
  }
}
The user record sent in the PUT request:
{
  "userName": "janeDoe123",
  "active": true,
  "name": {
    "givenName": "Jane",
    "familyName": "Doe"
  },
  "displayName": "Jane Doe",
  "nickName": "Jane",
  "roles": "publisher",
  "emails": [
    {
      "value": "janedoe@email.com",
      "primary": true,
      "type": "work"
    }
  ],
  "addresses": [
    {
      "streetAddress": "123 Mission St",
      "locality": "San Francisco",
      "region": "CA",
      "postalCode": "94105",
      "country": "US",
      "primary": false,
      "formatted": "123 Mission St, San Francisco, CA, 94105",
      "type": "work"
    }
  ],
  "title": "Sales Manager",
  "photos": [
    {
      "type": "photo",
      "value": "http://an.image/url"
    }
  ],
  "preferredLanguage": "en-US",
  "userType": "Associate",
  "locale": "en-US",
  "timezone": "US/Chicago",
  "urn:SocialChorus:1.0:User": {
    "businessUnit": "Accounts Receivable",
    "gender": "Female",
    "managerName": "Michael Scott",
    "workLocation": "Chicago",
    "birthDate": "2000-01-01T00:00:00.000Z",
    "hireDate": "2000-01-01T00:00:00.000Z",
    "promotionDate": "2000-01-01T00:00:00.000Z",
    "requisitionApprovalDate": "2000-01-01T00:00:00.000Z",
    "lastAccessedAt": "2000-01-01T00:00:00.000Z",
  "urn:ietf:params:scim:schemas:extension:enterprise:2.0:User": {
    "employeeNumber": "abc123",
    "organization": "Firstup",
    "department": "Management",
    "costCenter": "NY",
    "division": "THCI"
  }
}Adding custom user attributes to existing user profiles utilizes a PUT request.
Utilize PUT endpoints carefully. Modified data models caused by new features or user-defined fields may lead to data loss. Any existing attributes not included in a PUT overwrite as blank.
GETthe user record usingGET /scim/v2/Users/{user_id}to retrieve all current attributes and objects associated with the user.- Copy the body into the PUT body request to ensure you've captured the entire user profile.
- Copy the custom user attributes object from the user schema.
- Paste this into the PUT body request, then replace each custom attribute with a key and a value.
- Execute the
PUTrequest.
Example custom attribute objects:
This example is the plain text copied from the schema:
    "urn:SocialChorus:1.0:User":
    {
    "customAttributes": [
      {
        "name": "name",
        "value": "value"
      },
      {
        "name": "name",
        "value": "value"
      },
      {
        "name": "name",
        "value": "value"
      }
    ]
    }
This example shows that text overwritten with example custom attributes:
  "urn:SocialChorus:1.0:User":
    {
    "customAttributes": [
      {
        "name": "companyCar",
        "value": "Tesla"
      },
      {
        "name": "companyPhone",
        "value": "iPhone12"
      },
      {
        "name": "companyLaptop",
        "value": "mac3"
      }
    ]
    }
That custom attribute object added into a user body:
{
  "userName": "janeDoe123",
  "active": true,
  "name": {
    "givenName": "Jane",
    "familyName": "Doe"
  },
  "displayName": "Jane Doe",
  "nickName": "Jane",
  "roles": "publisher",
  "emails": [
    {
      "value": "janedoe@email.com",
      "primary": true,
      "type": "work"
    }
  ],
  "addresses": [
    {
      "streetAddress": "123 Mission St",
      "locality": "San Francisco",
      "region": "CA",
      "postalCode": "94105",
      "country": "US",
      "primary": false,
      "formatted": "123 Mission St, San Francisco, CA, 94105",
      "type": "work"
    }
  ],
  "title": "Sales Manager",
  "photos": [
    {
      "type": "photo",
      "value": "http://an.image/url"
    }
  ],
  "preferredLanguage": "en-US",
  "userType": "Associate",
  "locale": "en-US",
  "timezone": "US/Chicago",
  "urn:SocialChorus:1.0:User": {
    "businessUnit": "Accounts Receivable",
    "gender": "Female",
    "managerName": "Michael Scott",
    "workLocation": "Chicago",
    "birthDate": "2000-01-01T00:00:00.000Z",
    "hireDate": "2000-01-01T00:00:00.000Z",
    "promotionDate": "2000-01-01T00:00:00.000Z",
    "requisitionApprovalDate": "2000-01-01T00:00:00.000Z",
    "lastAccessedAt": "2000-01-01T00:00:00.000Z",
    "customAttributes": [
      {
        "name": "companyCar",
        "value": "Tesla"
      },
      {
        "name": "companyPhone",
        "value": "iPhone12"
      },
      {
        "name": "companyLaptop",
        "value": "mac3"
      }
    ]
  "urn:ietf:params:scim:schemas:extension:enterprise:2.0:User": {
    "employeeNumber": "abc123",
    "organization": "Firstup",
    "department": "Management",
    "costCenter": "NY",
    "division": "THCI"
  }
}
Refer to Custom Attributes for further guidance.
When updating single user attributes, for example job title change or a phone number change, we recommend using a PATCH service.
Before you start
Adding, replacing or removing existing users and user groups requires SCIM patching. Look here for guidance and examples of how this works within our platform before attempting to edit users.
Endpoint
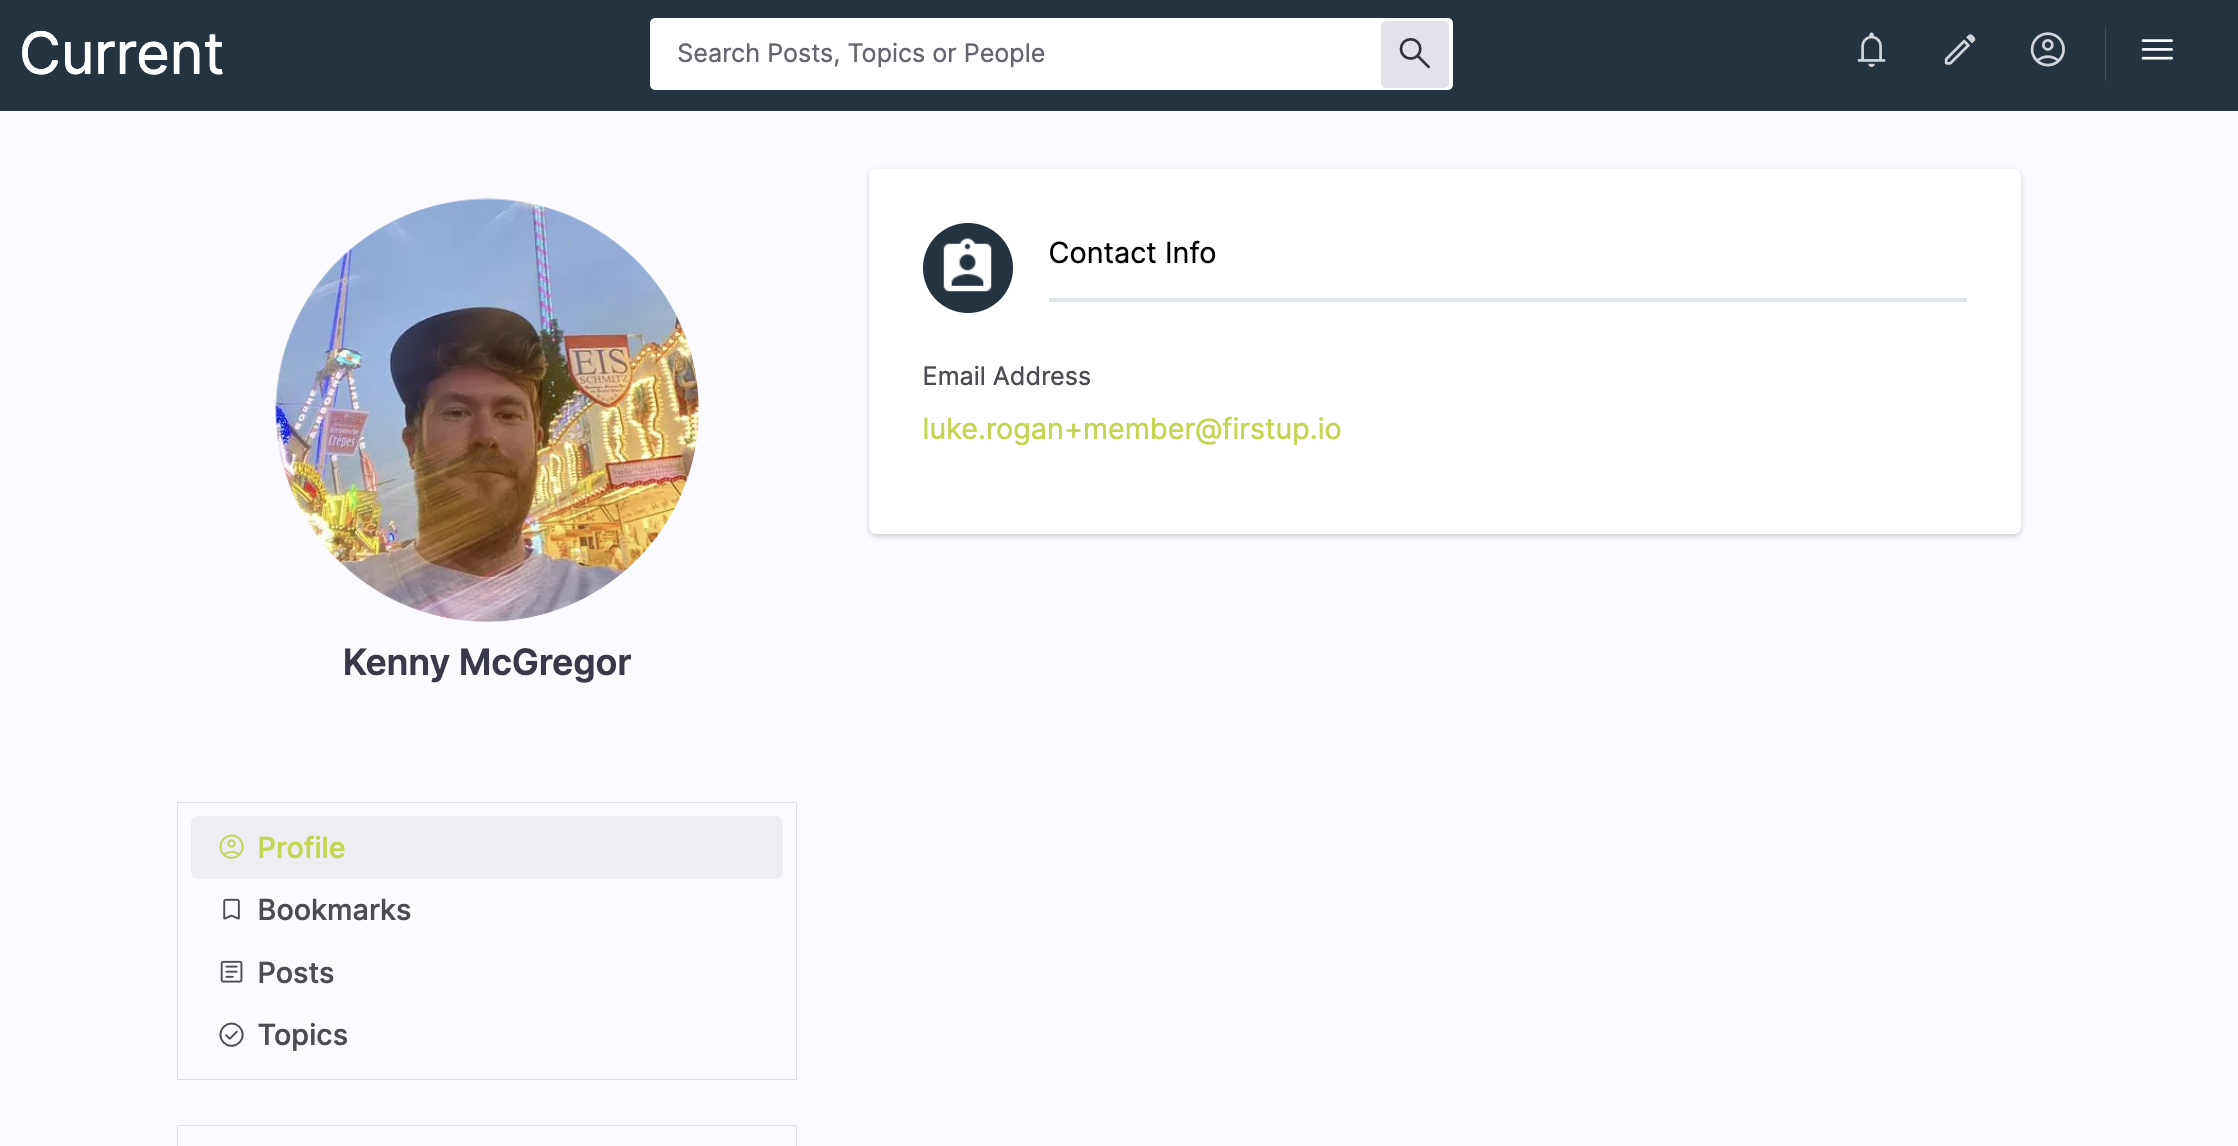
A user has different names associated with their account, so bear this in mind when changing their name.
The best way to change a user's name is to change the nickName or name attributes. This updates how their name appears in Employee Experience.
This example shows a user's name as givenName Kenny, familyName McGregor. Kenny could also be a nickName showing instead of their real givenName:
To change this:
GETthe user record usingGET /scim/v2/Users/{user_id}to retrieve the user.- Create a replace operation (see example below).
- Execute the
PATCHrequest.
Replace operation request example for a single attribute:
{
  "schemas": ["urn:ietf:params:scim:api:messages:2.0:PatchOp"],
  "Operations": [
    {
      "op": "replace",
      "path": "nickName",
      "value": "Kenneth"
    }
  ]
}
Replace operation request example for an object (in this case the name object)
{
  "schemas": ["urn:ietf:params:scim:api:messages:2.0:PatchOp"],
  "Operations": [
    {
      "op": "replace",
      "path": "name:familyName",
      "value": "Smith"
    }
  ]
}
A look at what name attributes are available and how changing them affects things:
| API Name Attribute | Description |
|---|---|
userName | This is more of a backend function and relates to the universal identifier in our API and in Studio. It doesn't show in Employee Experience. Users with the appropriate roles can change this field in Studio, and the API can also change it, but it must be unique. |
displayName | The displayname attribute is called the display name in Studio. It's auto-generated by the application and changing this is not advisable. It serves a distinct purpose within Firstup, requires a specific format and inappropriate use may introduce unintended side effects. It's main purpose in the employee experience is the name that appears when users @ comment in the comments section. Users can change this attribute themselves in their Employee Experience profile, but this cannot be changed in Studio. 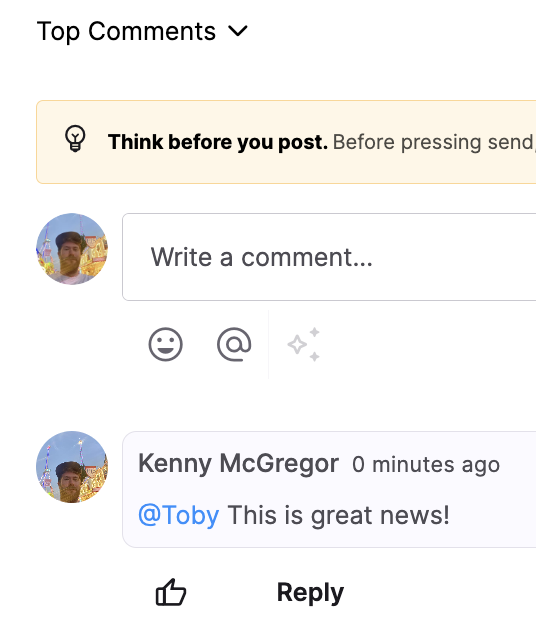 |
nickName | This is the preferred name (and short name) in Studio, and can be changed in Studio, by the user in Employee Experience and using the API. It replaces the user's given name (their first name) in the Employee Experience UI and in Studio. It does not override their given name, it only displays instead of. |
name | This object has the givenName and familyName attributes. Shown as the First name and Last name in Studio. Users in Employee Experience cannot change this, but the API and Creator Studio users with relevant access can. |
Update a user's email address. This example uses a PATCH service to update a single user attribute.
GETthe user record usingGET /scim/v2/Users/{user_id}to retrieve all current attributes and objects associated with the user.- Create an
operationsobject to send. - Replace the email address the
emailsvalue. - Execute the
PATCHrequest.
{
  "schemas": [
    "urn:ietf:params:scim:api:messages:2.0:PatchOp"
  ],
    {
      "op": "replace",
      "path": "emails[type eq \"work\"].value",
      "value": "janedoe@email.com"
    }
  ]
}